Origami in the Classroom: Where Every Child Counts!
This article was written by Barbara Pearl, is an award winning educator and author of Math in Motion: Origami in the Classroom (K-8) and Whale of a Tale (PreK-2).
What did Leonardo da Vinci, Lewis Carroll and Fredrich Froebel all have in common? Origami! From its ancient origins in Japan to its practice by the Moors of Northern Africa during the middle ages and its recent surge in popularity in the United States and around the world, origami has delighted artists, mathematicians, architects, and educators world wide. Learn the basic folds, explore the mystery, geometry and joy of origami.

Folding to Learn/Learning to Fold
As parents and educators, we are always looking for ways to teach and improve basic reading and math skills, develop critical thinking and problem solving, foster cooperation and socialization, and introduce our students to different cultures. An ideal lesson might strive to achieve all of these goals and take a form so appealing that children of all ages are eager to learn.
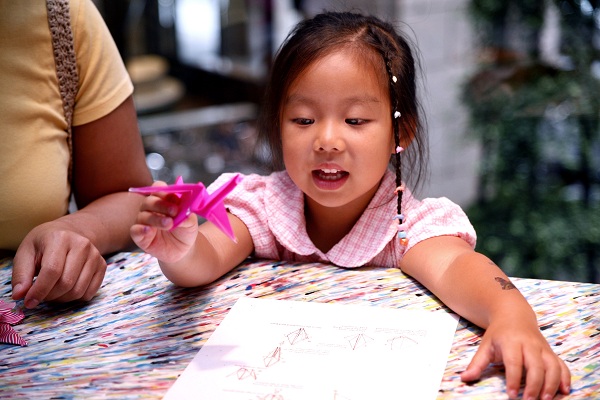
Kids love origami and learning by doing keeps students’ attention as they naturally want to play with and explore objects. By constructing and deconstructing paper manipulatives, activating prior knowledge, and experiencing it first hand, children find learning becomes more meaningful. The shapes and forms they create with paper folding exercises help them apply math concepts and build vocabulary concretely, retain information longer, and bridge the gap between words and their meaning. Learning with understanding is essential to enable students to solve the new kinds of problems they will inevitably face in the future.

Research has shown that paper folding, particularly in the elementary school years, is a unique and valuable addition to the curriculum. Origami is not only fun, it accommodates a variety of learning styles that helps children develop educational, cultural, and social skills. In Japan, children learn origami at home and in kindergarten.
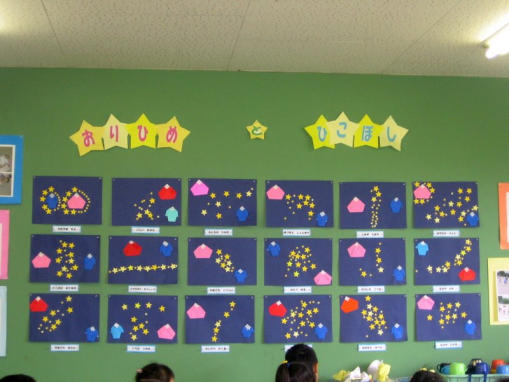
I was invited to Japan to present Math in Motion: Where Every Child Counts workshops. In my workshops, I connect origami across the curriculum. In the Japanese schools I visited, I observed the teacher supply rooms were stocked with origami paper squares the way our rooms are filled with construction paper. Origami is integrated into their curriculum. Today, many schools in the West integrate origami into the classroom. You can set up an Origami Learning Center in your classroom where children can work in small groups. Provide paper and origami diagrams and books. Many free, printable diagrams can be found at Origami Club.

Origami builds patience, perseverance and precision. It will enhance memory and retention. Paper folding reaches children’s hearts as well as their minds. As students master the art of paper folding, it instills in them a sense of satisfaction from completing a model. As students feel successful, they will transfer it to other areas of learning.
My vision is that origami will be a part of every grade child’s educational experience. I guarantee you that once you share some of these activities together, they will become one of the best parts of your day and you will treasure them for years to come.
Origami Isn’t Just For Squares
Traditional origami paper is precut into squares ranging in different sizes, colors and patterns. It is usually color on one side and white on the other side. The 6-8 inch paper squares are easier to manipulate and good for beginners. Origami paper is available in most craft stores and online.
Rectangles also provide lots of budget-friendly paper resources and can be transformed into a variety of origami models including hearts, boxes and jumping frogs. (Note: Origami Club has free, printable origami instructions using newspaper and rectangular paper).
Tips for collecting paper:
- Start a recycling resource box in your classroom.
- Let colleagues, friends and families know to save these materials and help contribute to your project.
- Visit travel agencies for brochures and magazines, garage sales for calendars, gift wrapping paper and maps and libraries and bookstores for promotional posters and fliers. Trim to size with a paper cutter or fold as is.
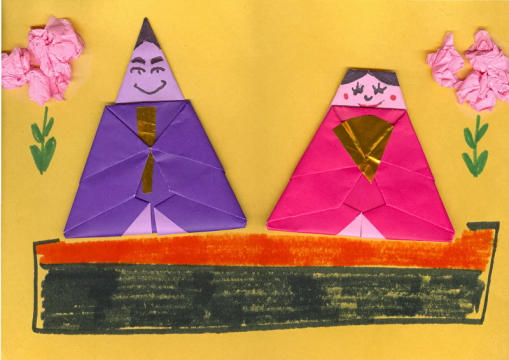
Once students master a model by practicing with recycled paper, they can personalize it by selecting a design that may enhance their project. Nurture children’s creativity. Prior to folding, challenge students’ imagination by asking them to draw their own designs on a piece of paper. They can create one-of-a-kind artwork with computer graphics, clip art and coloring pages from the Internet
The following tips and techniques will provide you with more practical steps to make teaching with origami in your classroom as easy as ichi, ni, san (1, 2, 3)…all it takes is a piece of paper!
Ten Teaching Techniques
1. Begin with a simple model. Place yourself where all the students can see your hands and the sample. If not everyone can see you at once, repeat the step for each side of the room. Encourage students to observe your demonstration of each step before they attempt it. Prior to the lesson, teach one or two students in the class to help other students as needed.
2. Choose larger paper to demonstrate. Your sample should be large enough to be seen from the back row, but not too large to manipulate. Precrease your model so that you can pay attention to your class. Highlight the lines on your model using different color markers to indicate the folds so that everyone can see the next step.
3. Fold on a firm surface like a table or a book. Emphasize folding neatly and accurately. The more precise you fold, the nicer it will look. Crease each step sharply at least three times. The sharper you fold, the easier it will be to see and follow the guidelines on the paper to the next step.
4. Try to ensure that your students are quiet and attentive. Students must be able to listen and follow directions in a supportive learning environment.
5. Encourage students to explore the qualitative and quantitative characteristics of the materials and shapes they use. Ask: “What can we say about the shape we see? How does this material feel?” This open-ended question approach encourages students to analyze the figure without the pressure of obtaining one right answer. It also enables the teacher to assess what the class already knows and what they may need to learn.
6. While teaching each step to the class, introduce math concepts and vocabulary so that your students can experience them first hand and learn them in context. Have students identify and label each part of the model on their paper. Younger children can trace the same areas with their fingers as they recite the parts of the figure. Write the words on the board so that they can say it and associate it with the shape.
7. When describing a fold, mention the place where the fold begins and ends, or other “landmarks.” Orient your sample the same way your students are folding. Treat each step as one unit: First identify the present position and orientation of the model, perform the step, and then confirm the new position. Make sure each of your students has performed this step correctly before moving on to the next step. If you sense any uncertainty, repeat your instructions. Try to find a clearer explanation. If a step is challenging, ask students to hold their papers up to check the whole class at the same time. Encourage them to help each other.
8. Avoid folding the student’s model. Frustration and failure may alienate them from trying. Establish that a raised hand signals a sign for help without disturbing others. Help individual students or assign another student to assist them. If you have to perform the step on their model, unfold it and let them try it again. Self-satisfaction is very important. If they are still unable to perform the step, you may need to fold their model to enable them to complete it. Practice makes progress. With practice and patience, they will quickly develop the confidence they need to succeed.
9. Be supportive and nonthreatening in your instructions and corrections. Everyone learns at a different pace. Some students may seem more cautious than others and may be afraid to fail and make mistakes. Give the class as much reassurance and positive encouragement as possible.
10. Have Fun! If you enjoy teaching and learning with origami, your students will too! Remember to be patient with yourself and take your time. Make notes of what works well and what you may need to improve.
May the fold be with you!